I am sharing the steps I usually do or I have experienced when submitting my Australian tourist visa application. Please be informed that I am not affiliated with the Australian immigration or VFS Global.
I am just sharing this information because 10 years ago I remember being so confused and nervous when I did not know how to start processing my very first Australian tourist visa application.
I hope it will help others.
The VIA Center is no longer the Australian Visa Application Center.
VFS Global is the new Australian Visa Application Center. It is located at VFS Global – MO1 Mezzanine Floor 2305 Ecoplaza building, Chino Roces Avenue Extension, Brangay Magallanes , Makati City.
There is also VFS Global in Cebu.
STEP 1. Fill out and print the tourist visa form and checklist from Australian immigration website.
Form 1419 ( Tourist stream subclass 600 )
Checklist ( Tourist visa stream subclass 600 )
STEP 2. Prepare supporting documents. ( Complete documents will save you time and money. )
a. Certified true copy of passport picture page and other pages that have your entry/exit stamps from your previous overseas trips. (Certified true copy means have it photocopied or “xerox” as it is widely know in the Philippines. Then go to a “notary public” or lawyer. Tell them that you would like to notarize and have it certified. They will have it stamped and with dry seal.)
b. Photocopy of birthcertificate from NSO.
c. Photocopy of latest NBI clearance. (It has to be the green NBI clearance for travel abroad)
d. Photocopy of your own bank certificate/ credit card slip with credit card limit/ payslip/ ITR. (These documents will prove if you can look after yourself financialy which is very important.)
e. Photocopy of notice of leave from work/ business certificate/ school enrolment receipt/ land title/ vehicle registration. (These will prove that you will be returning to the Philippines)
f. Photocopy of previous visa grant, if any.
g. 2 pcs. passport size photo not more than 6 months. ( Attach one on your application form then bring the other one when you submit your application to VSF Global)
**OPTIONAL DOCUMENTS/DEPENDING ON DIFFERENT CASES**
h. Medical Certificate from St. Lukes. (This is asually requested if you would like to stay 6 months and above in Australia. Also, for applicants 60 years and above.)
i. Photocopy of travel insurance receipt. ( I wanted to make sure that I am taken cared of whatever happens during my stay in Australia. )
j. Photocopy of round trip ticket. ( This is discouraged by the immigration. However, I usually have this to prove them that I really have money to afford it and I have no intention of further stay..)
k. Invitation letter from a friend who is Austarian citizen or Australian permanent resident. ( He or she could be a friend, boyfriend, girlfriend, etc)
l. Photocopy of your friend’s passport or your picture together. (This is to prove that you know each other and you have already met in person)
m. Bank statement of your friend. ( If he/she is going to sponsor you or look after you while you are staying in Australia)
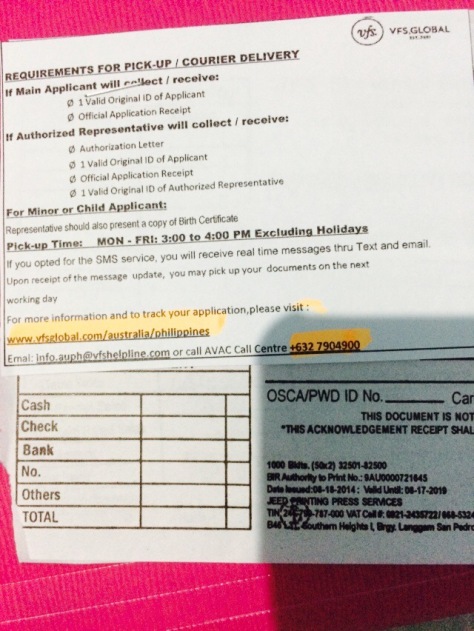
STEP 3. Go to your bank then request for Manager’s check for Australian Embassy. The amount is 5,700 pesos (as of September 2014) Please call VFS at (02)790-4900 for the updated visa fee.
STEP 4. Submit filled out tourist visa form and checklist, passport size photo, supporting documents and manager’s check to VFS Global. (Submission is 8am-3pm ONLY.)
The representatives will check your documents and will ask you on how would you like to receive the result of your application. You can choose from courier, e-mail or with SMS notification.
**620 pesos- handling fee
**110 pesos- SMS notification and result
** The average processing timeframe is 1 month.
** The visa grant will be sent thru e-mail. Print it out.
October 17, 2014
After 16 working days I received my visa grant through e-mail.
The SMS was not really that helpful because I just received 1 message (my visa application was received in the Australian embassy). 110 pesos is too much for that useless option of notification because I also received the same message through e-mail which is free.
This is the longest waiting period I experienced.
I am still happy that my application was granted.
2015 UPDATE
March 31, 2015 – I lodged another Tourist Visa application subclass 600. If you have bags, backpack, sling bags etc. you have to surrender it to the baggage counter and pay 100 pesos fee. It is no longer waived. So if you do not want to pay 100 pesos please do not bring bags.
There is a promo on going: free sim card.
VISA FEE: 5,400 pesos.
HANDLING FEE: 620 pesos
I did not sign up for SMS update for this application. So i did not pay additional SMS UPDATE fee. (The difference that I noticed is that I did not receive e-mail notification that the Australian embassy already received my application. I do not know if it is because they are already on holiday or they will not notify me because I did not sign up for SMS update.)
APRIL 29, 2015
I received a call from the representative of Australian Embassy. He clarified some information. He told me that he will grant my visa. About 15 minutes after we spoke I received my visa grant thru e-mail.
I am happy to have my request of multiple entry granted.
Good luck to you too!
😄


